
The environment I’m using in the tutorial is Mac OS High Sierra 10.13.4 with VirtualBox 5.2.18 and IBM Cloud Private Community Edition. Data persistent and storage topics are also not discussed in this tutorial, so all data will be ephemerally stored inside the VMs
System requirements
- Boot node: 4G RAM, 100GB disk
- Master node: 4G RAM, 151 GB disk
- Proxy node: 4G RAM, 40 GB disk
- Worker node: 4G RAM, 100 GB disk
Determine your cluster architecture
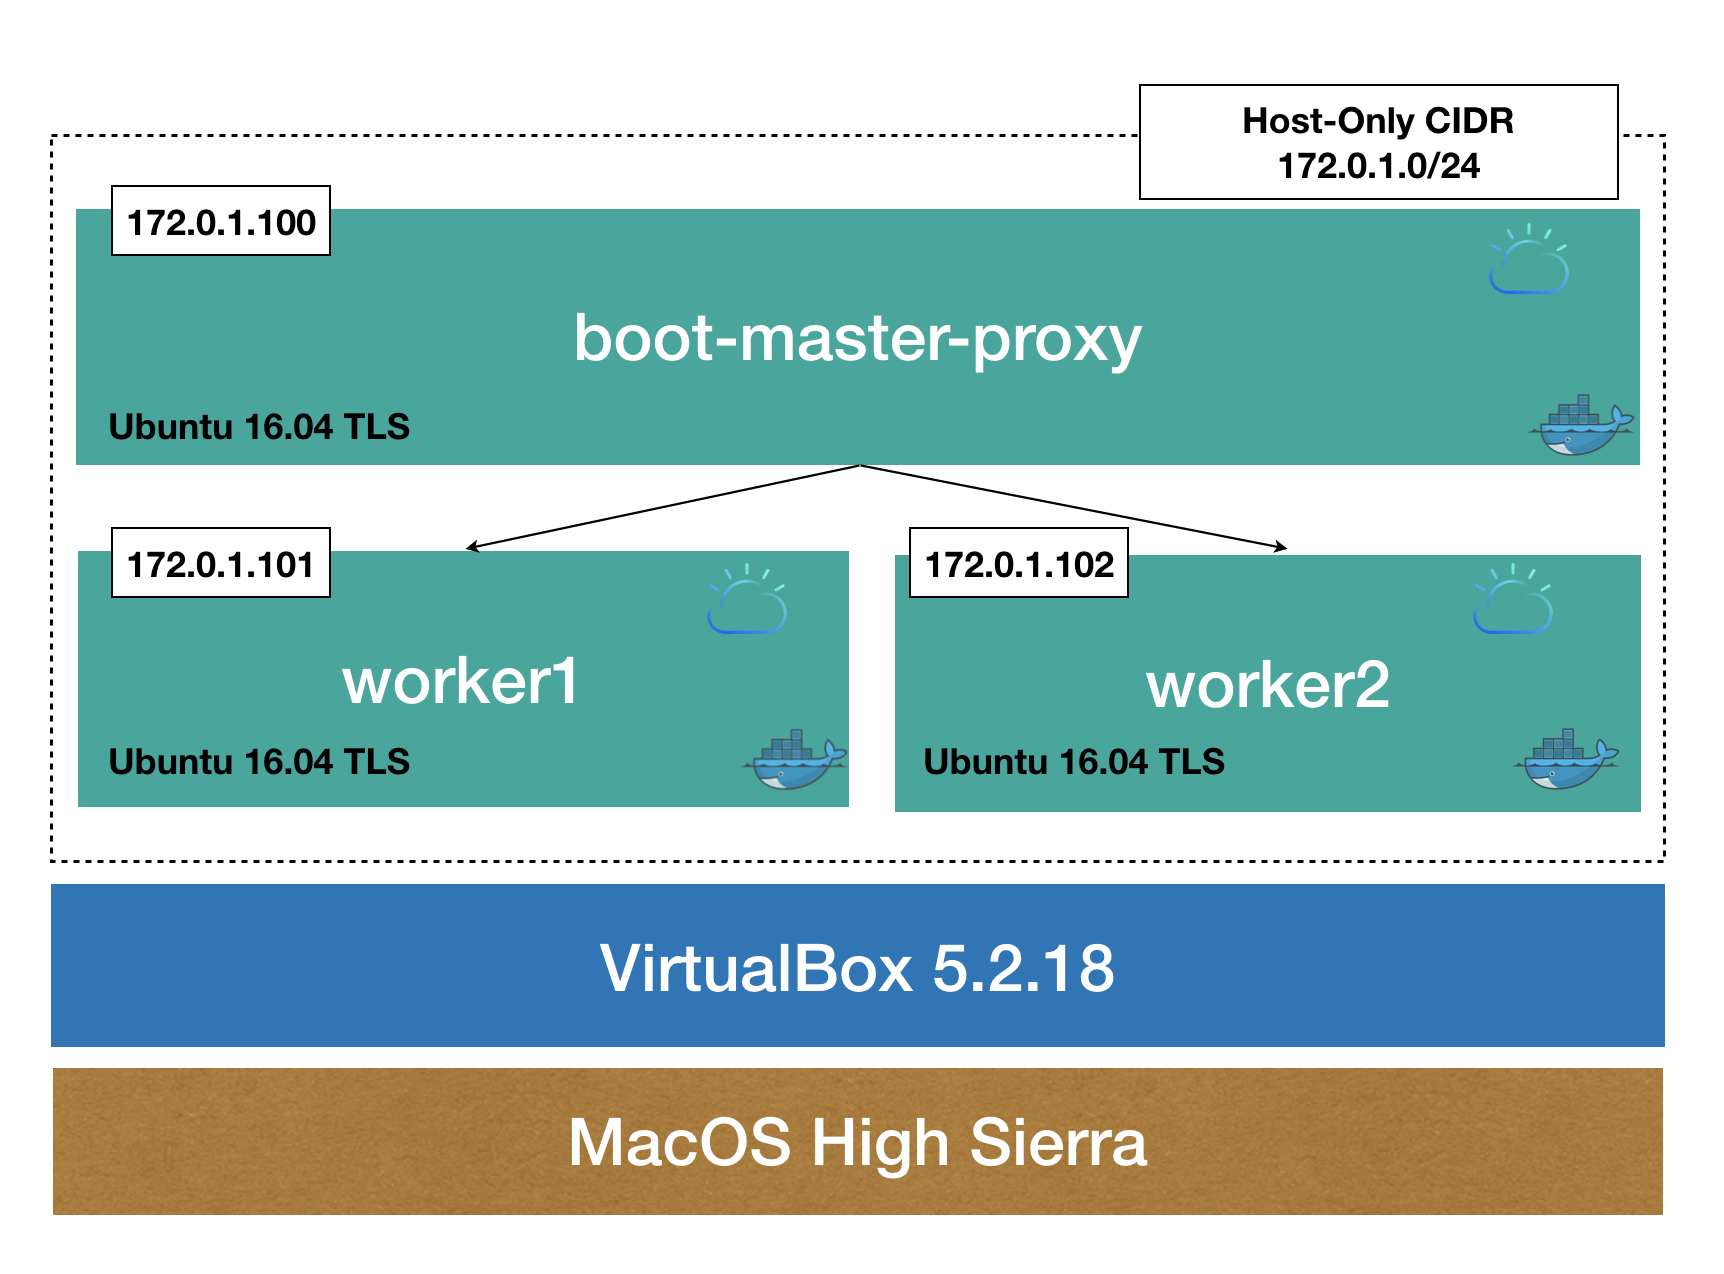
First you need to decide the architecture of your cluster. A standard configuration for a multi-node ICP cluster is
- A single master
- A single proxy node
- Three worker nodes
In this tutorial though, we will compact the architecture even more, to make it 3 virtual machines (VMs) only
- One VM contains both proxy and master node
- Two VMs each hosts a worker node
Here is how it looks:
Setup infrastructure
Configure VirtualBox network
Create internal private network for the nodes
As shown in the cluster architecture, I will create a Host-Only network interface to attach all the nodes in. With Host-Only network adapter, I can access the nodes from my host
$ VBoxManage hostonlyif create
After that command, VBoxManage will present us the network name (eg: vboxnetx). Use it for next command to configure the network IP:
$ VBoxManage hostonlyif ipconfig vboxnet3 --ip 173.0.1.1
Then configure the DHCP server:
$ VBoxManage dhcpserver add --ifname vboxnet3 --ip 173.0.1.1 --netmask 255.255.255.0 --lowerip 173.0.1.100 --upperip 173.0.1.200
$ VBoxManage dhcpserver modify --ifname vboxnet3 --enable
Enable internet access from the VMs
We can either create a NAT network or use the defautl NAT option to allow the VMs to access the internet through my Mac. To make it simple, I will attach the NAT adapter to my VMs. We will do this once we have the VM provisioned
Provision the VMs
We will provision the first VM (boot-master-proxy), setup necessary softwares on it, then clone it to make the other two VMs to minimize the repeated steps.
Download the image from here: http://releases.ubuntu.com/16.04/ubuntu-16.04.5-server-amd64.iso
Depending on how much resource you have in your host, you will provision your VM accordingly. We allocate 8GB RAM, 80GB to the first VM
Assuming we’ve done with provisioning your VM based on the Ubuntu image, now on VirtualBox GUI, go to Settings view of the VM, navigate to Networks and then attach 2 adapters to the VM as following
NAT for internet access from the VM
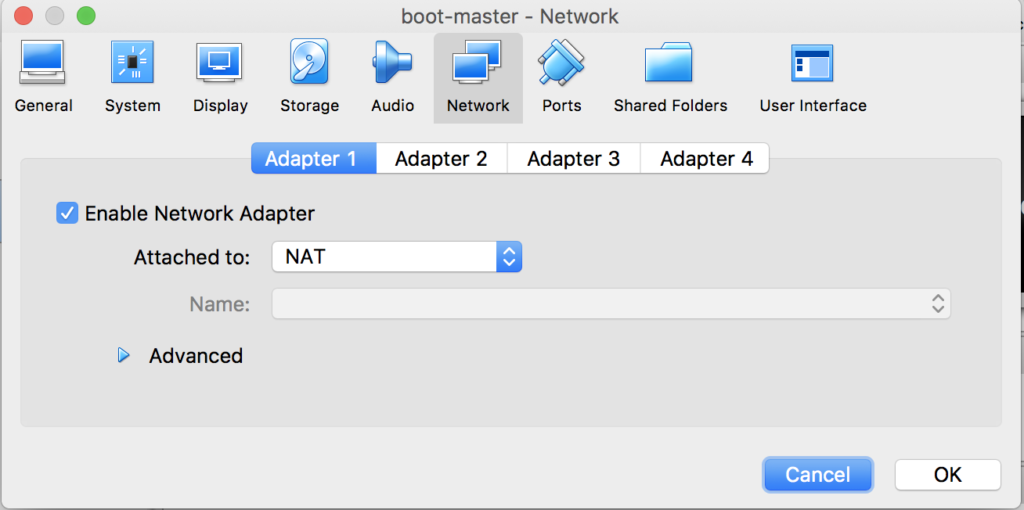
Host-Only, select the one you created before, to enable access to the VM from host
/etc/network/interracesSince the VM is attached to the Host-Only network interface, we can ssh to it from the host and modify the network interfaces configuration:
$ssh <user>@<boot-master-proxy node's ip address>
$sudo vi /etc/network/interfaces
make it something like this:
# This file describes the network interfaces available on your system
# and how to activate them. For more information, see interfaces(5).

source /etc/network/interfaces.d/*

# The loopback network interface
auto lo
iface lo inet loopback

# The primary network interface (NAT)
auto enp0s3
iface enp0s3 inet dhcp
# The Host-Only network
auto enp0s8
iface enp0s8 inet static
        address 172.0.1.100 # This is the master node's IP address
        netmask 255.255.255.0
Notes: Sometimes the network interface name (eg: enp0sx) does not show up in the /etc/network/interfaces file hence you need to figure out what the name is for each adapter. Use this command inside the VM to determine
dmesg | grep eth
Change the host name of the VM, make it boot-master-proxy
$ sudo vi /etc/hostname # then make it boot-master-proxy
Install necessary softwares on the boot-master-proxy node
Enable root login remotely via ssh to the VM
Set a password for root by SSH to the VM and execute these from inside
$sudo su - # provide your user's password here
$passwd
Enable remote login as root
$ sed -i 's/prohibit-password/yes/' /etc/ssh/sshd_config
$ systemctl restart ssh
Update Net Time Protocol
This is to make sure time stays in sync
$ sudo apt-get install -y ntp
$ sytemctl restart ntp
Configure Virtual Memory setting
$ sudo vi /etc/sysctl.conf
Add this line in then reboot the VM
# Increase memory map areas to 262144
sysctl -w vm.max_map_count=262144
then reboot
$ sudo reboot now
Install Docker and tools
$ sudo apt-get update && sudo apt-get install -y linux-image-extra-$(uname -r) linux-image-extra-virtual
$ sudo apt-get install -y apt-transport-https ca-certificates curl software-properties-common
$ sudo curl -fsSL https://download.docker.com/linux/ubuntu/gpg | apt-key add -
$ sudo apt-key fingerprint 0EBFCD88
$ sudo add-apt-repository "deb [arch=amd64] https://download.docker.com/linux/ubuntu $(lsb\_release -cs) stable"
$ sudo apt-get update
$ sudo apt-get install -y docker-ce
$ sudo apt-get install -y python-setuptools && sudo easy_install pip
Create the worker nodes by cloning the first VM
At this point, we’ve had the foundation for installing IBM Cloud Private. Lets shutdown the VM (`shutdown -h now`) and clone it to make the 2 worker nodes
From host machine, do these commands:
$ vboxmanage clonevm boot-master-proxy --name worker1
$ vboxmanage registervm ~/VirtualBox\ VMs/worker1/worker1.vbox
$ vboxmanage clonevm boot-master-proxy --name worker2
$ vboxmanage registervm ~/VirtualBox\ VMs/worker2/worker2.vbox
Update network configuration on each worker node
Now we can start all VMs using VirtualBox GUI or command line (better user GUI). VirtualBox will give us a command line interface for interacting with the VMs. Provide credentials to login to the VM and do further configuration. For example, with worker1
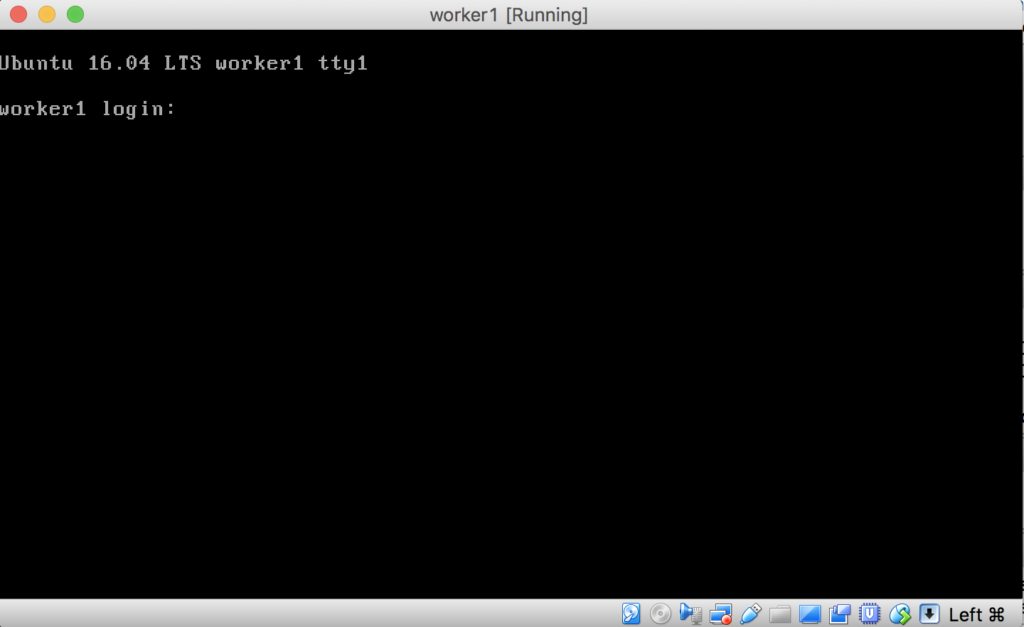
Change the host name of the VM to worker1
$ sudo vi /etc/hostname # change it to worker1
Change /etc/hostsconfiguration, to add these lines in
$ sudo vi /etc/hosts
# Add these lines in:
172.0.1.100 boot-master-proxy
172.0.1.101 worker1
172.0.1.102 worker2
Assign a static IP address to the VM by changing the configuration in /etc/network/interfaces to make it look like this
# This file describes the network interfaces available on your system
# and how to activate them. For more information, see interfaces(5).

source /etc/network/interfaces.d/*

# The loopback network interface
auto lo
iface lo inet loopback

# The primary network interface (NAT)
auto enp0s3
iface enp0s3 inet dhcp
# The Host-Only network
auto enp0s8
iface enp0s8 inet static
        address 172.0.1.101 # This is worker1's IP address
        netmask 255.255.255.0
then reboot the VM $ sudo reboot now
Install IBM Cloud Private CE
Now we’re ready to install ICP CE onto your VMs. First make sure you have all of 3 VMs started. Login to the boot-master-proxy VM through ssh from host machine
$ ssh <user>@172.0.1.100
$ sudo su - # provide credentials here
$ setenforce 0
Configure passwordless ssh tunnels from boot-master-proxy to worker nodes
Now configure to enable passwordless SSH from boot-master-proxy node to the 2 worker nodes. First, generate SSH key
$ ssh-keygen -t rsa -P '' # Accept default values by hitting enter
Now copy the resulting key (id_rsa) to all nodes in the cluster
$ ssh-copy-id -i .ssh/id_rsa root@boot-master-proxy
$ ssh-copy-id -i .ssh/id_rsa root@worker1
$ ssh-copy-id -i .ssh/id_rsa root@worker2
Now we can ssh from boot-master-proxy node to the worker nodes without having to provide password. For example, to access worker1 from boot-master-proxy:
$ ssh root@worker1
Install IBM Cloud Private CE from boot-master-proxy node
Create installation directory and launch a docker container to pull the installation materials
$ mkdir -p /opt/icp
$ cd /opt/icp
$ docker pull ibmcom/icp-inception:2.1.0.3
$ docker run -e LICENSE=accept --rm -v /opt/icp:/data ibmcom/icp-inception:2.1.0.3 cp -r cluster /data
$ cd cluster
Now copy the ssh key to the installation directory
$ cp ~/.ssh/id_rsa /opt/icp/cluster/ssh_key
$ chmod 400 /opt/icp/cluster/ssh_key
Configure IP addresses of the nodes in /opt/icp/cluster/hosts
$ sudo vi /opt/icp/cluster/hosts
Make it look like this
[master]
172.0.1.100


[worker]
172.0.1.101
172.0.1.102


[proxy]
172.0.1.100
Run the installation
$ docker run --net=host -t -e LICENSE=accept -v "$(pwd)":/installer/cluster ibmcom/icp-inception:2.1.0.3 install
Wait for about 30 minutes or so, until you’re presented a happy message like shown below, then the IBM Cloud Private CE version is successfully deployed on the VMs
PLAY RECAP *************************************************************************************************************************************************************************************************
172.0.1.100                : ok=159  changed=76   unreachable=0    failed=0
172.0.1.101                : ok=101  changed=40   unreachable=0    failed=0
172.0.1.102                : ok=97   changed=37   unreachable=0    failed=0
localhost                  : ok=69   changed=47   unreachable=0    failed=0


POST DEPLOY MESSAGE ****************************************************************************************************************************************************************************************

The Dashboard URL: https://172.0.1.100:8443, default username/password is admin/admin

Playbook run took 0 days, 0 hours, 23 minutes, 56 seconds
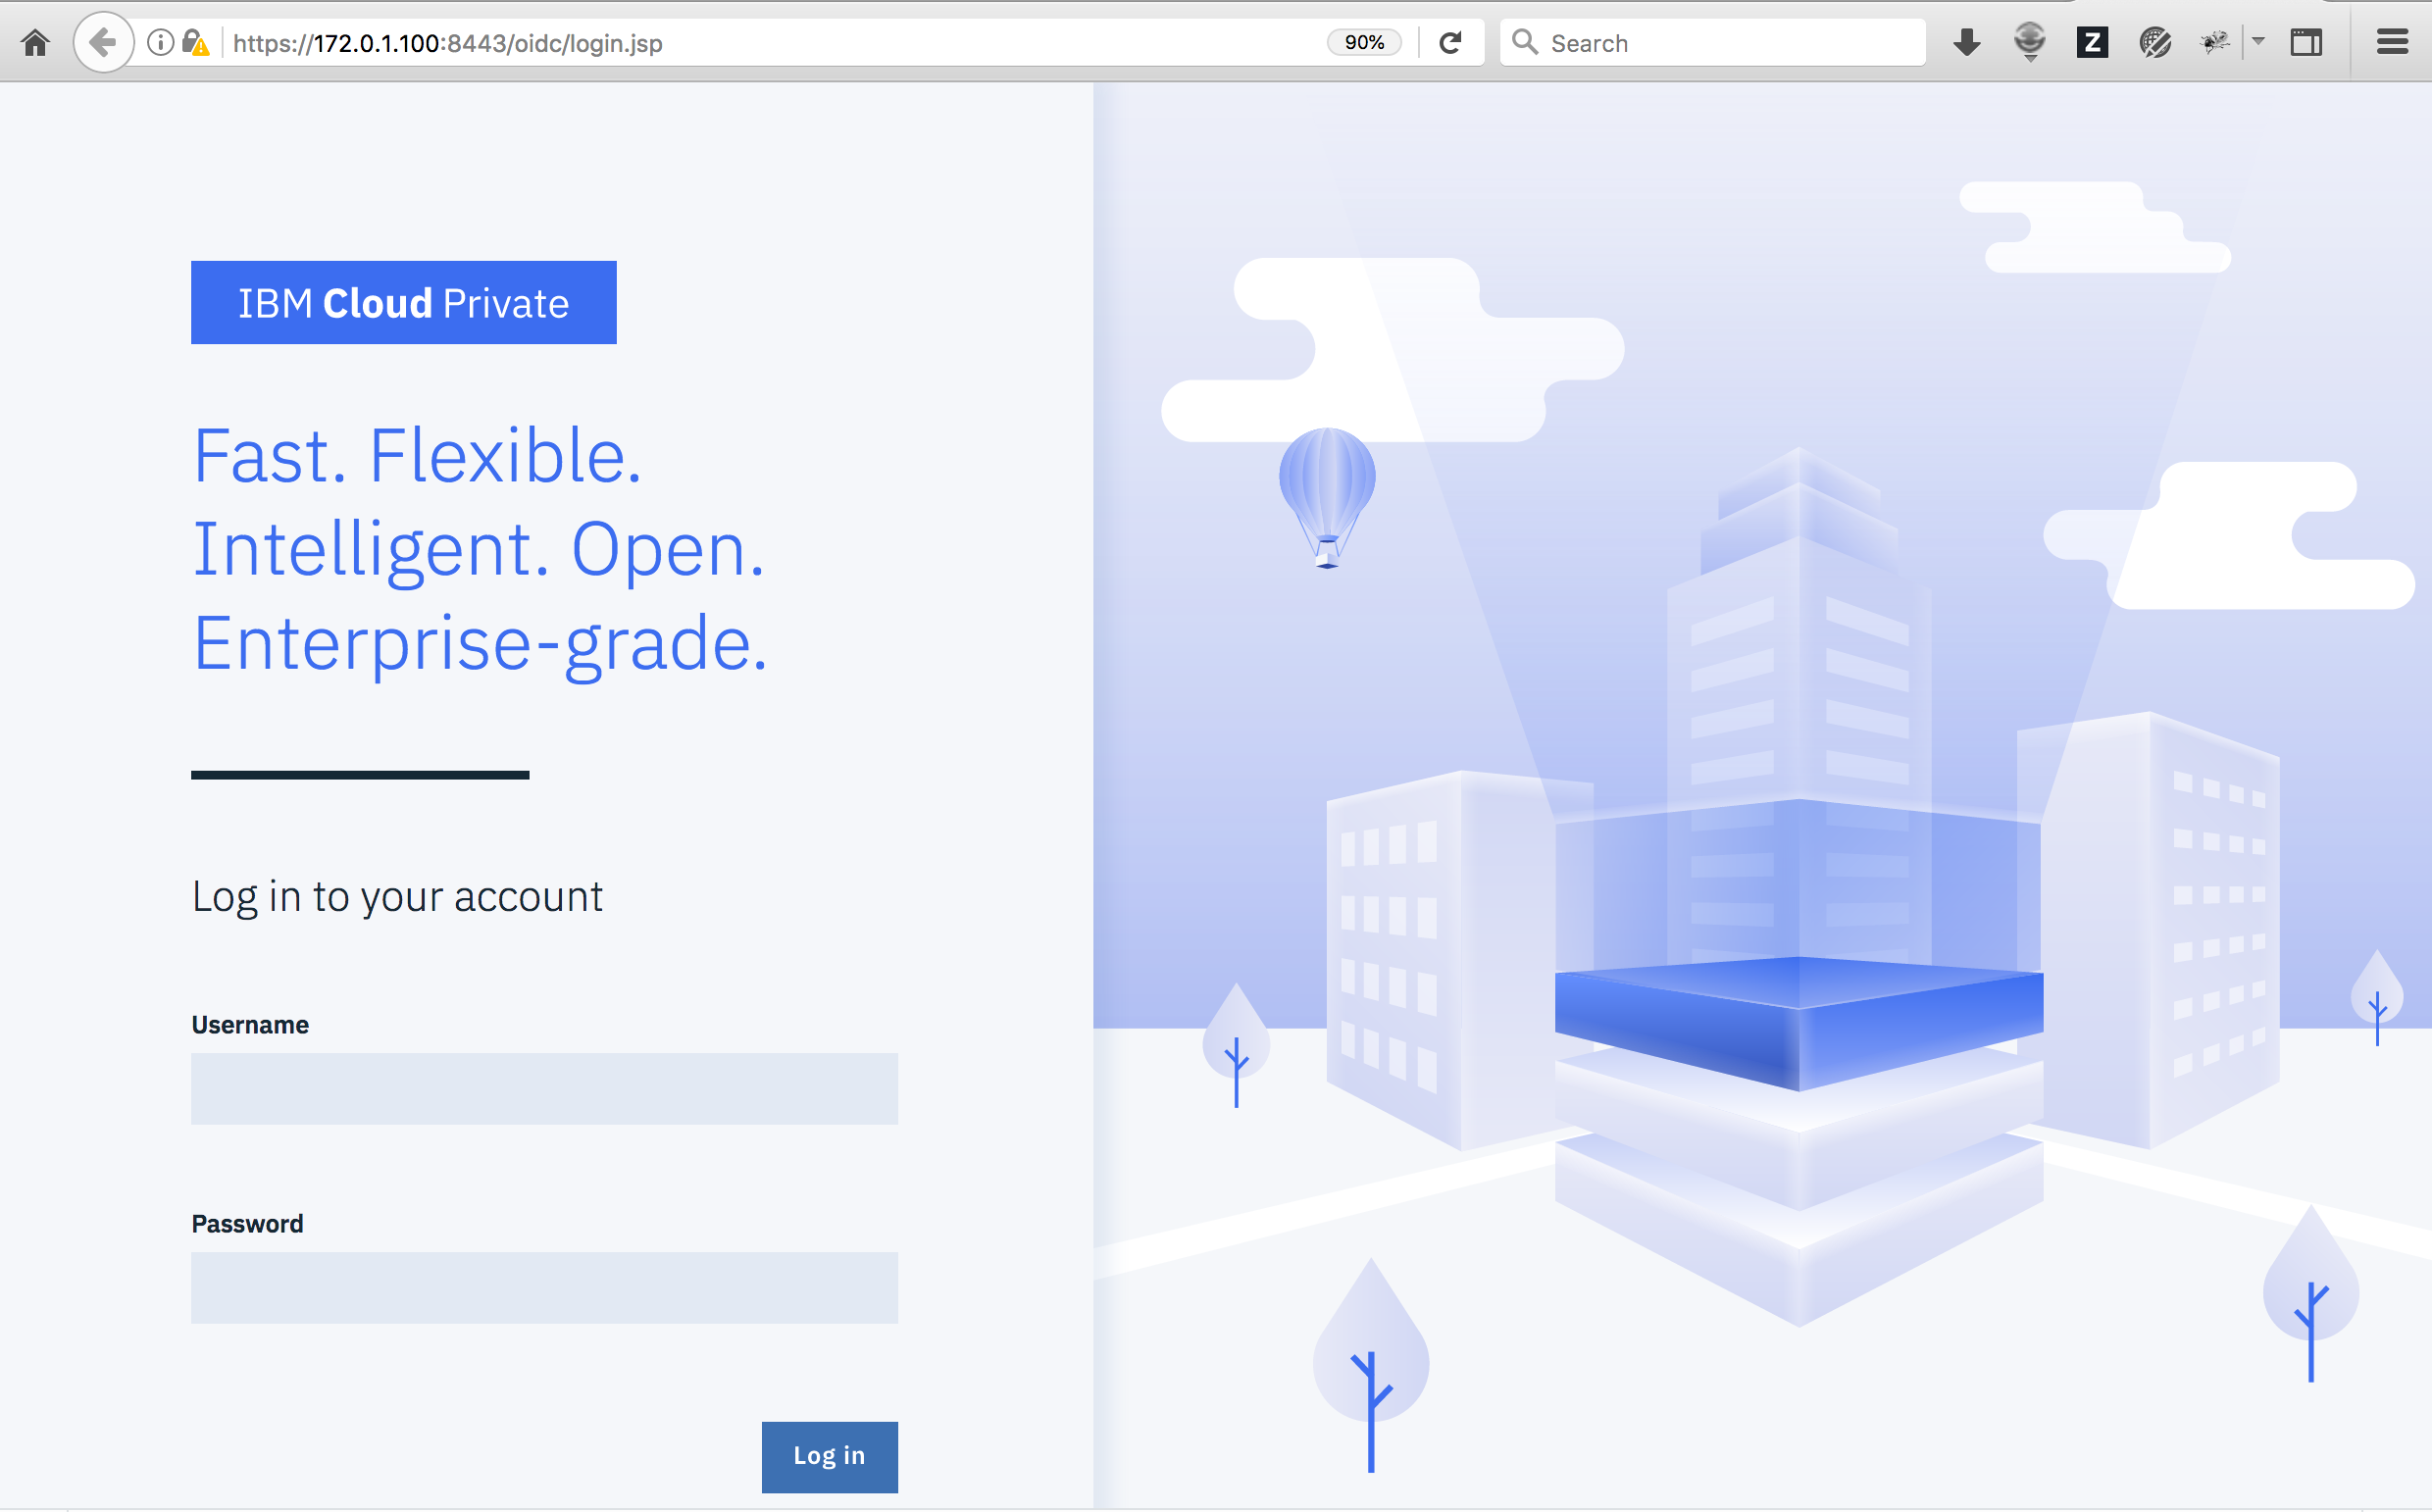
We can now access the ICP cluster’s web console from the host machine via this link https://172.0.1.100:8443 using the default credentials.
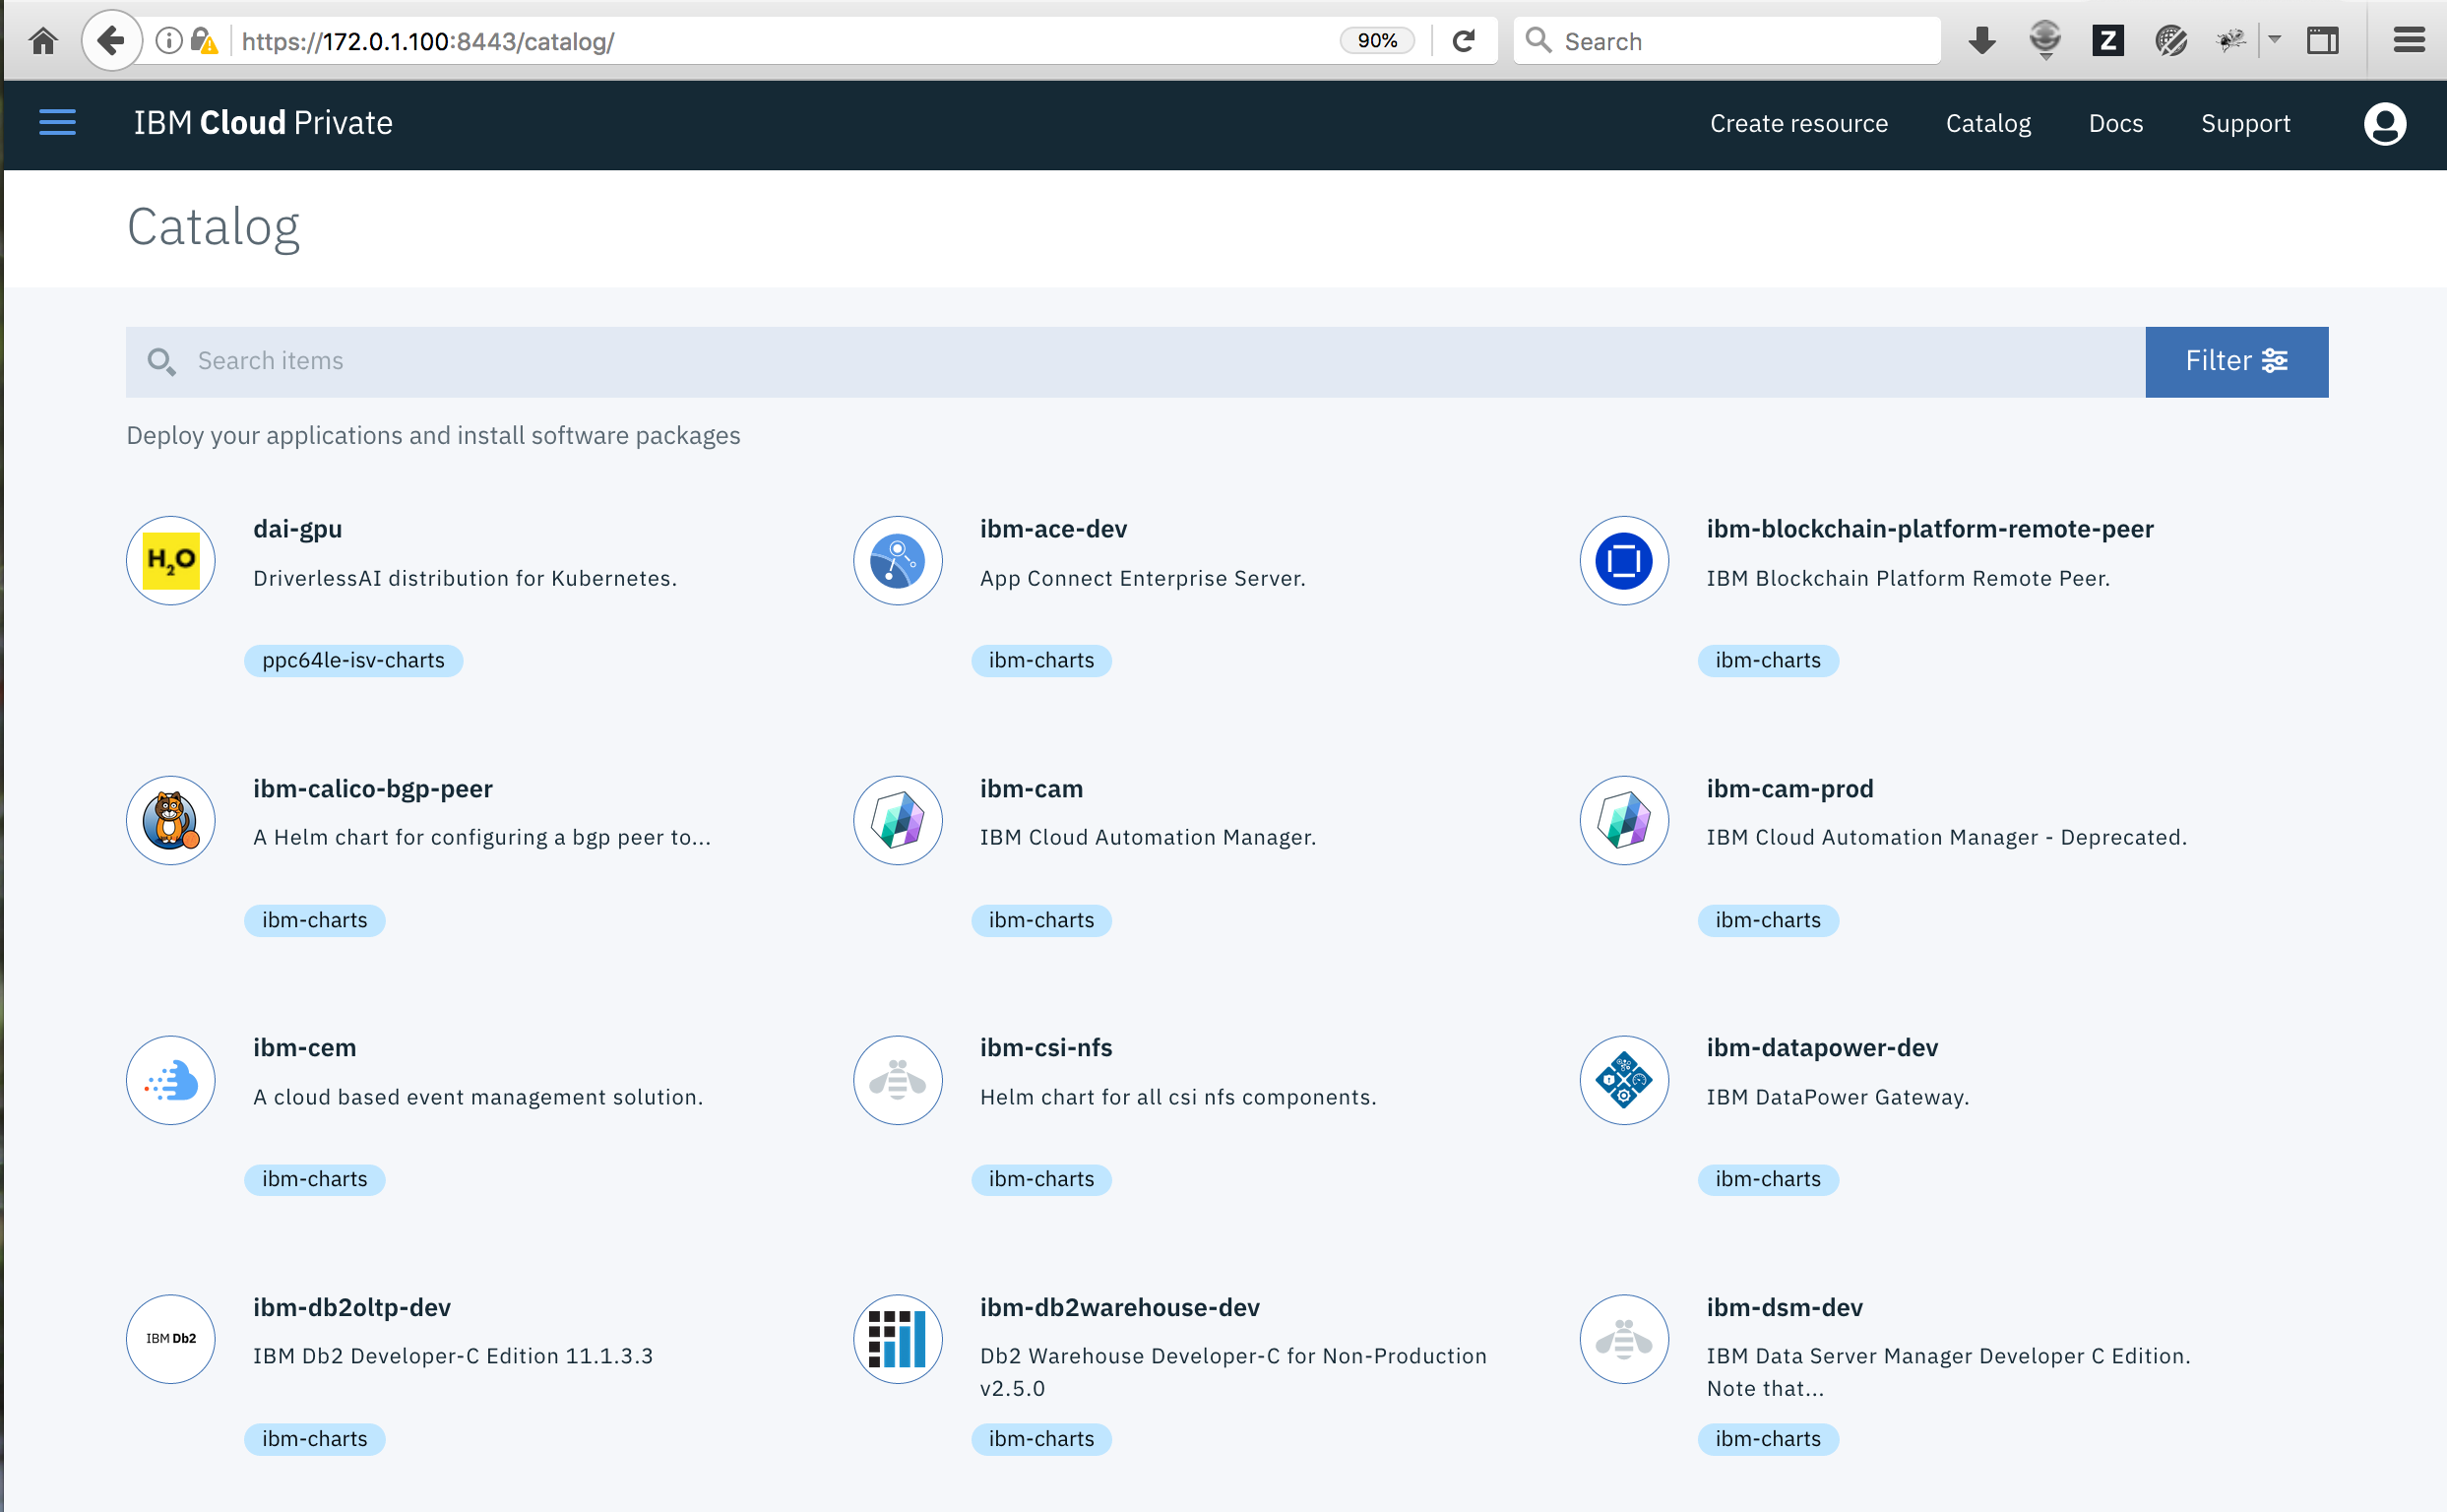
Once logged in, navigate to Catalog link to see the charts, services that can help us to start building our apps.
In next posts, I will discuss how to deploy workloads on IBM Cloud Private. Stay turned.