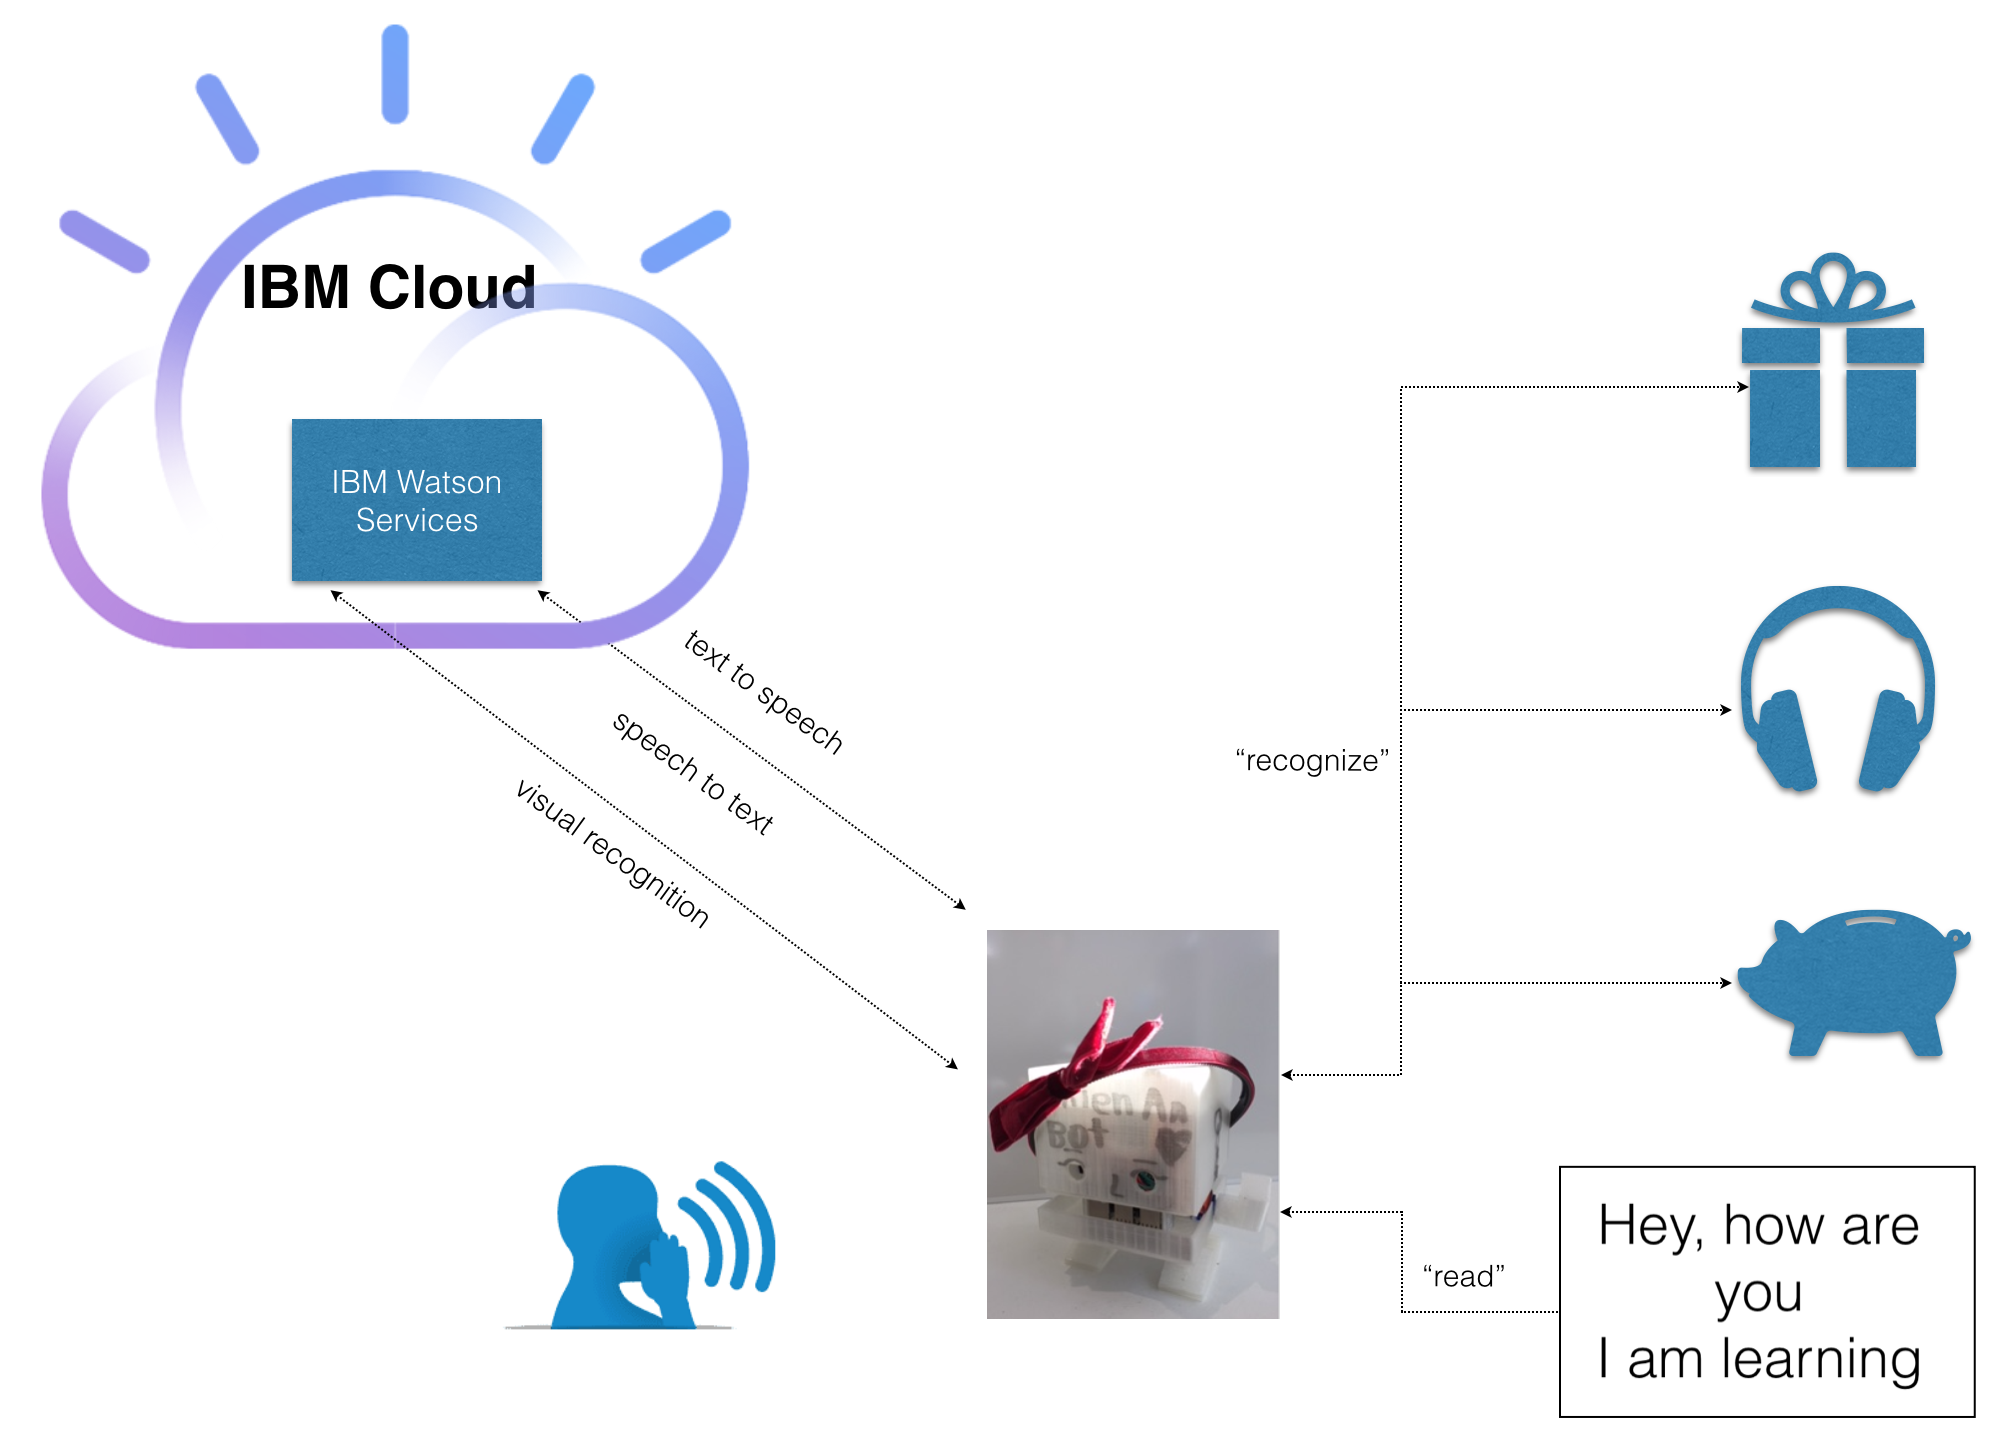
In this post, we will create a simple VR iOS app to showcase how to use IBM Watson SDK for Unity to add voice interface to an application.
The app accepts voice command from user through the iOS device’s microphone and changes color of a 3D sphere accordingly. The tutorials below is for Mac environment.
Prerequisites:
- Unity IDE . Version 2019.1 is recommended.
- IBM Cloud account. Register here for free.
- Be familiar with Unity IDE and game engine
- Git client.
Create a Watson Speech to Text (STT) service instance in IBM Cloud:
You first need to create a Watson STT service instance in IBM Cloud by logging to the platform using your IBM ID, then search for “Text to speech” from the Catalog and follow the instruction.
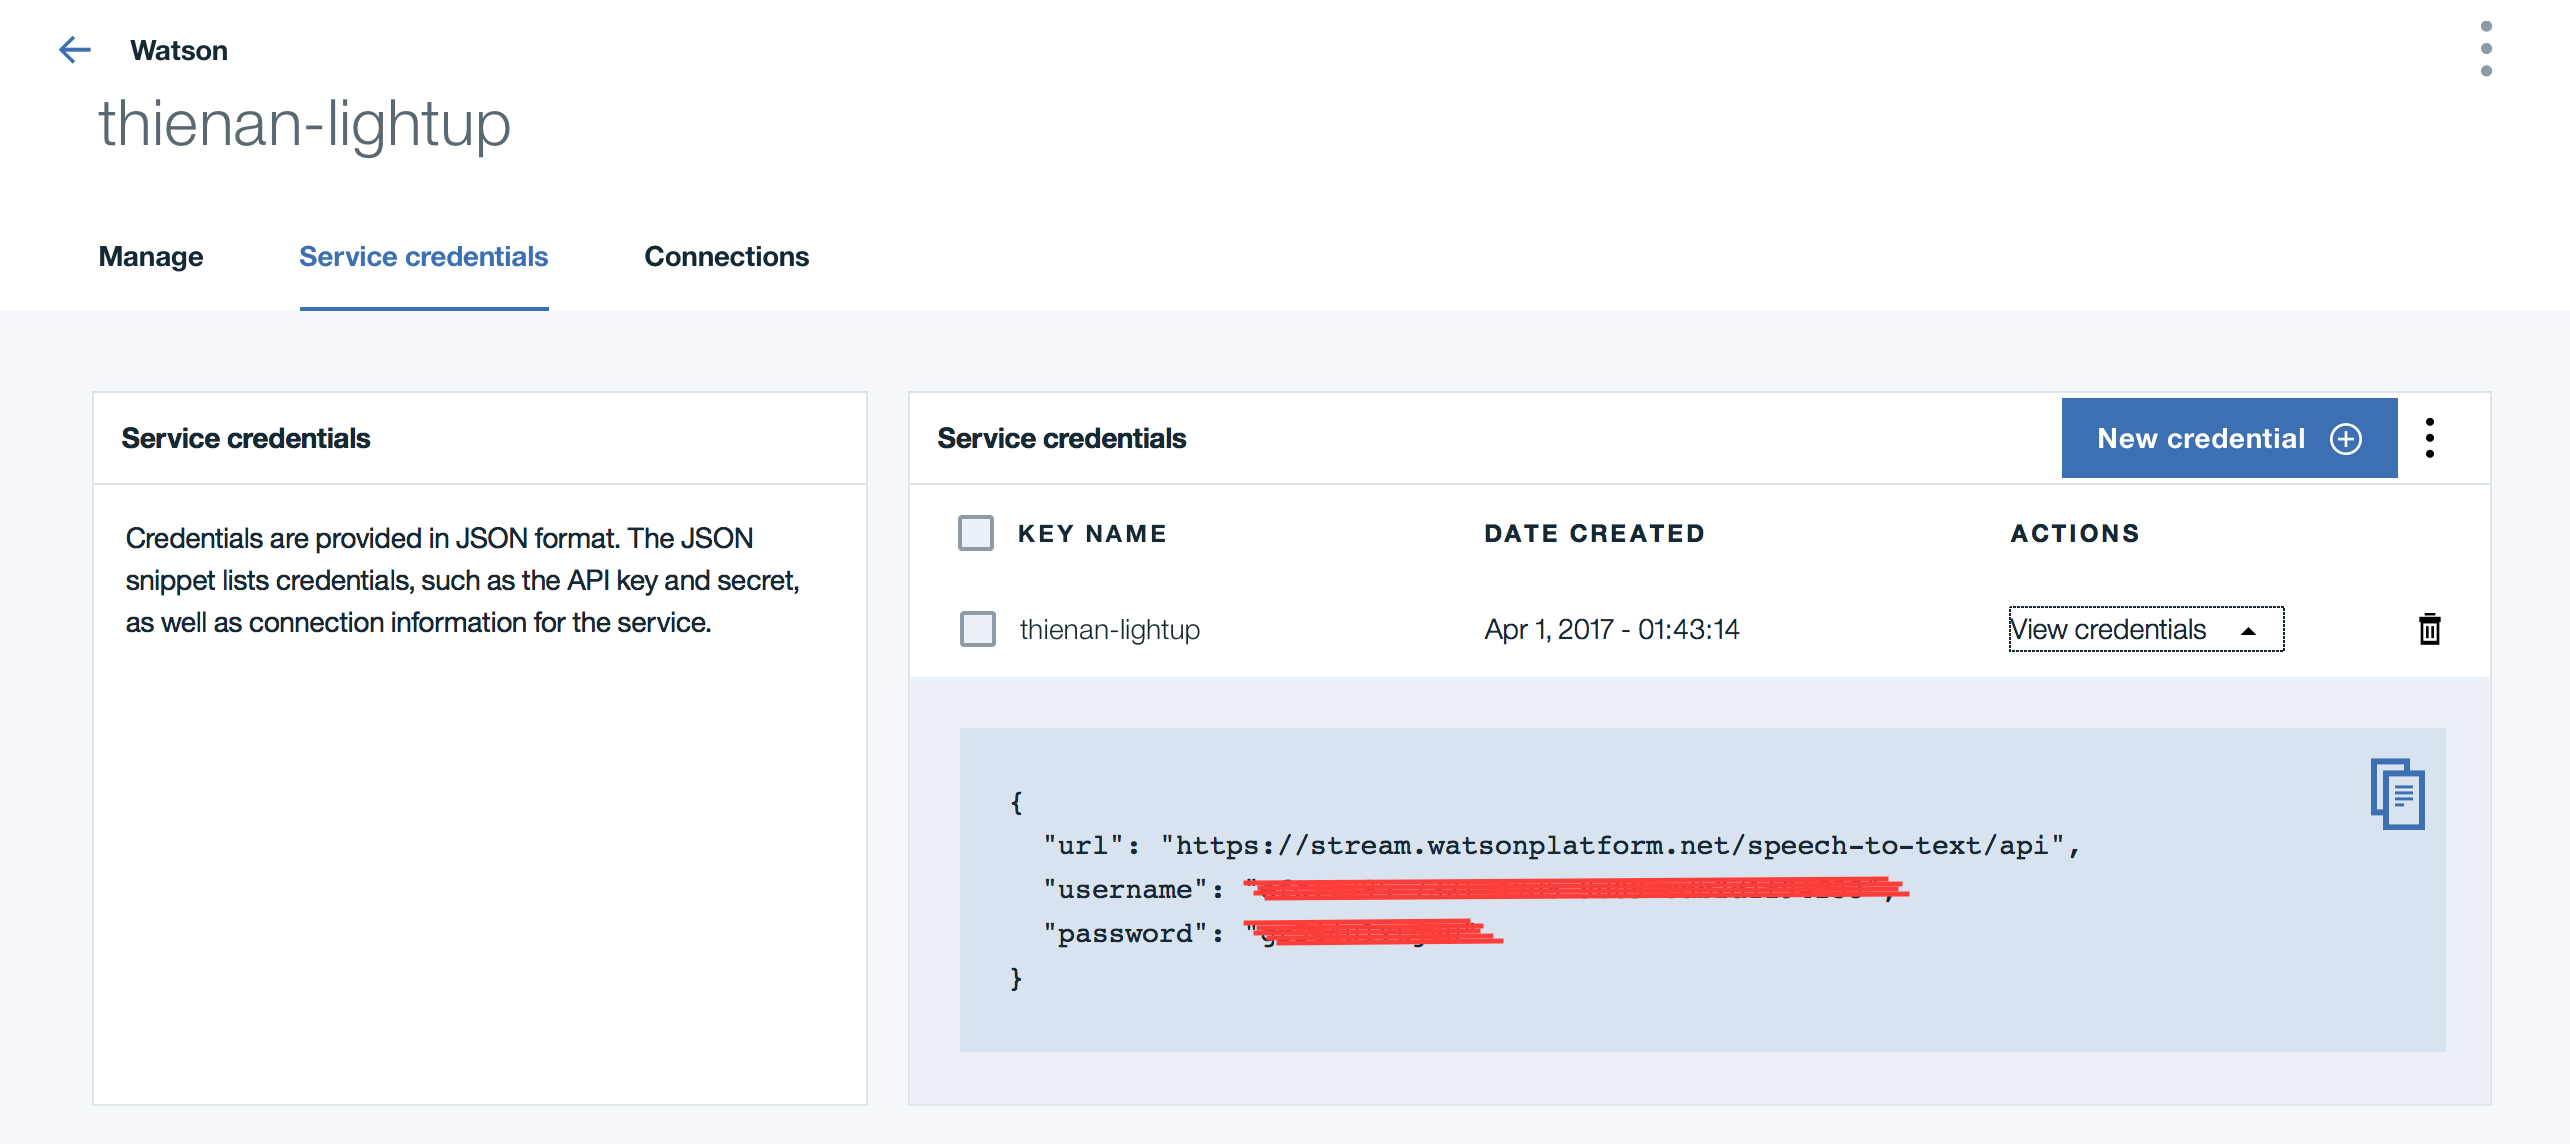
Once the service’s been created, navigate to the service’s Dashboard and grasp the “API Key” token to use later in the code. You can either use the auto-generated key or create a new one as necessary.
Import IBM Watson SDK for Unity to your Unity project
Create a 3D Unity project under which an Assets directory will be generated. Use git to clone the SDKs from IBM’s github to the Assets directory:
$ git clone https://github.com/IBM/unity-sdk-core.git
$ git clone https://github.com/watson-developer-cloud/unity-sdk
Once the sdk-core and sdk artifacts are completely downloaded, pick the ExampleStreaming in the examples list to add into the project.
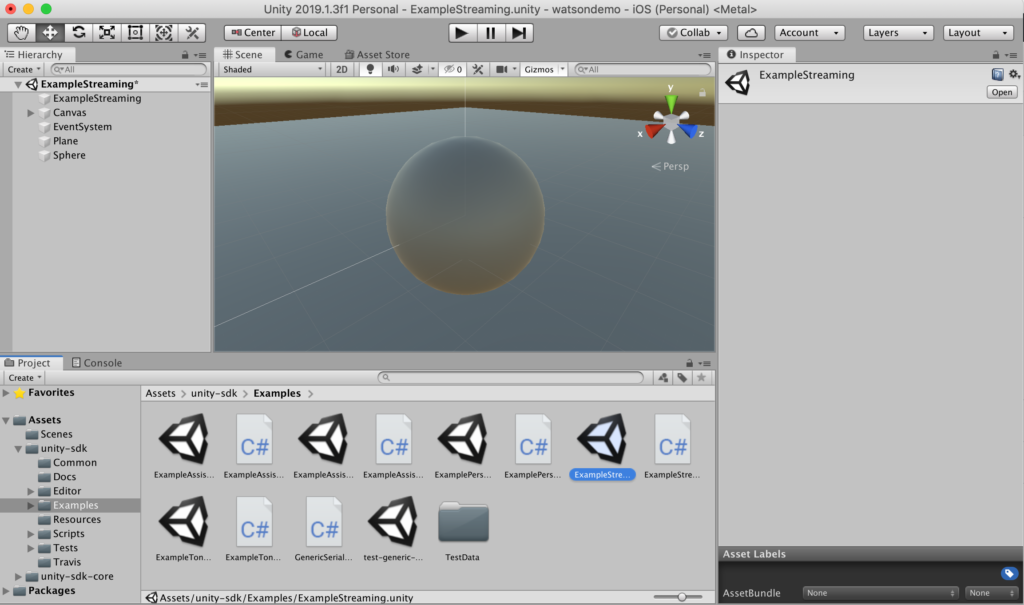
After that, add a Sphere and Plane 3D Game Object to the project (GameObject >> 3D Object on the menu)
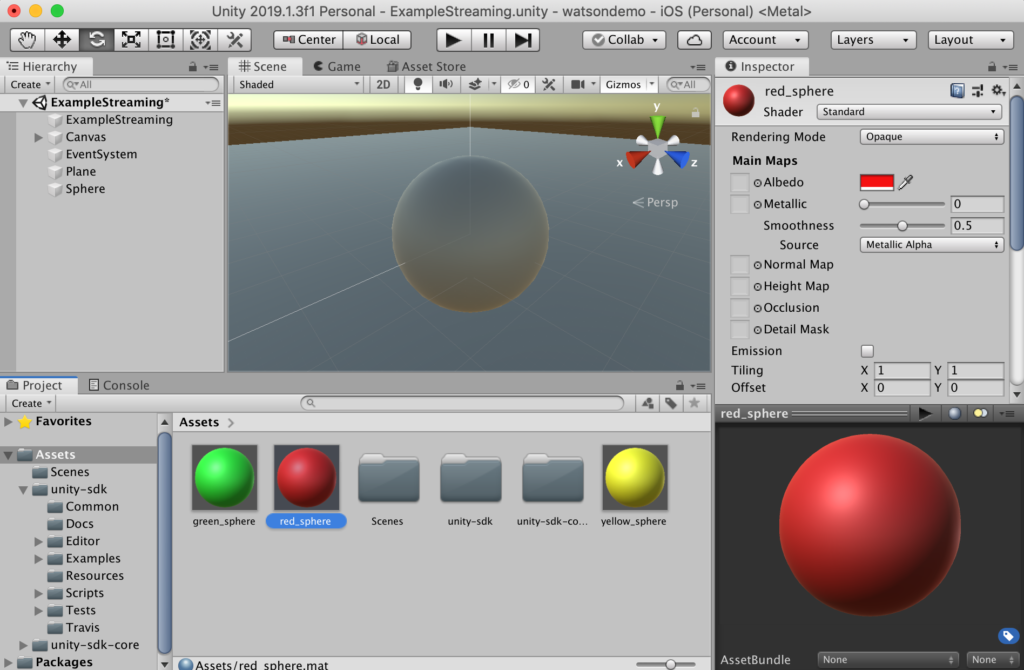
Next step is to create 3 asset materials correspondingly to the 3 colors we want to set for the sphere. Name the materials red_sphere, green_sphere, yellow_sphere and set the color for each of them accordingly.
Add code to set colors of the sphere via voice command
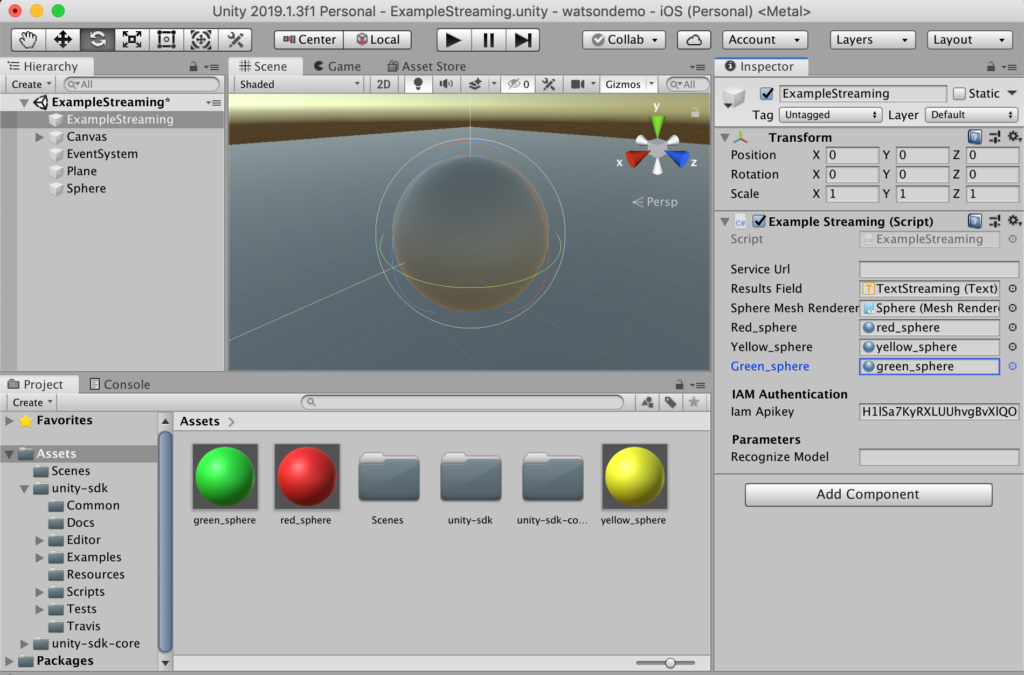
Now open the ExampleStream.cs file using a text editor and add these lines into the ExampleStream class after the declaration of ResultsField as following to declare the MeshRenderer and 3 materials as public variables. These variables will then show in the Inspector view of ExampleStreaming asset in Unity.
[Tooltip("Text field to display the results of streaming.")]
public Text ResultsField;

public MeshRenderer sphereMeshRenderer;
public Material red_sphere;
public Material yellow_sphere;
public Material green_sphere;
And this part is to set color for the sphere based on the key word found in the speech command
Log.Debug("ExampleStreaming.OnRecognize()", text);
ResultsField.text = text;

if (alt.transcript.Contains("red")) {
    sphereMeshRenderer.material = red_sphere;
}
else if (alt.transcript.Contains("green"))
{
    sphereMeshRenderer.material = green_sphere;
}
else if (alt.transcript.Contains("yellow"))
{
    sphereMeshRenderer.material = yellow_sphere;
}
Now link the materials to the variables accordingly using Inspector pane, and enter the API key you get from IBM Cloud for the STT service.
Export the project to run on iOS platform
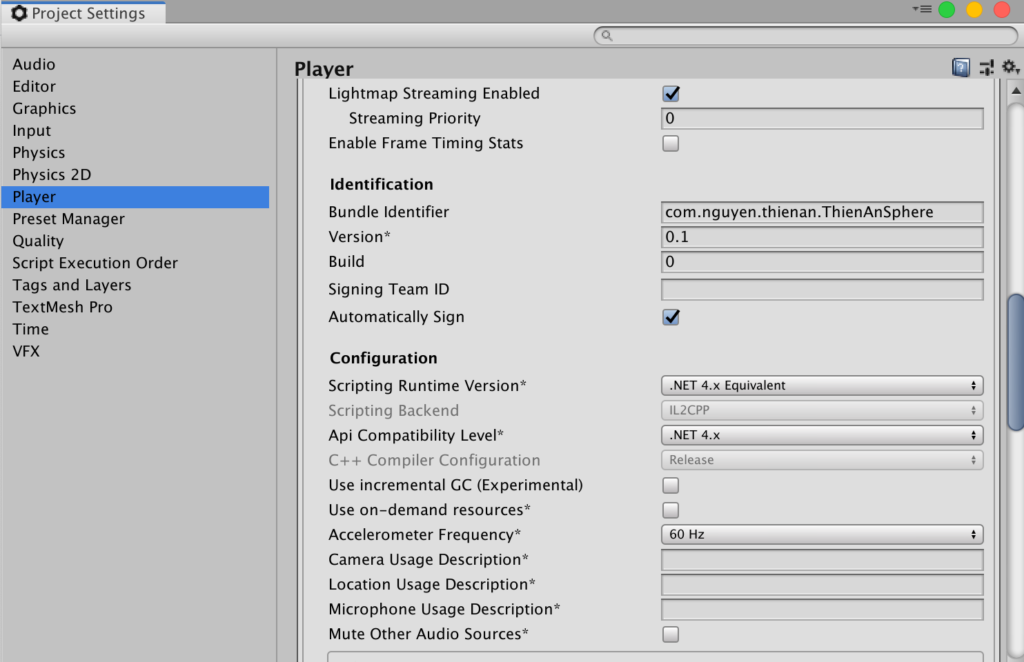
Go to Build Setting view of the project and switch it to iOS. Make sure to select Player Settings and set API Compatibility Level to .Net 4.x
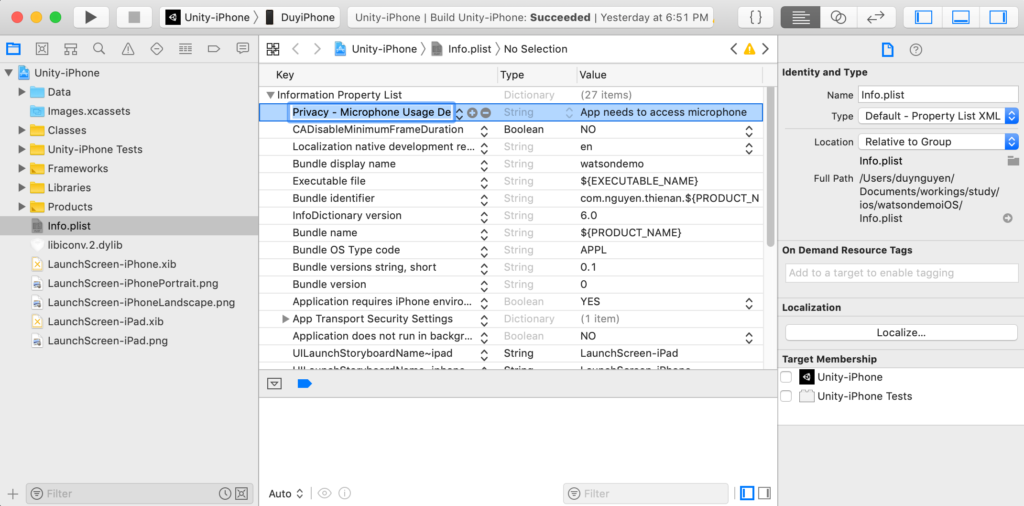
After exporting to an Xcode project, make sure to add Privacy - Microphone Usage Description property to the Info.plist to allow the app to access the device’s Mic. The app will simply crushed otherwise.
Run the application on iPhone
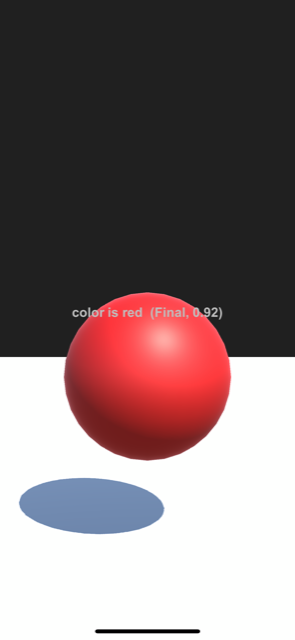
Make sure your iOS device has internet connection, the launch the app. When you speak to the device, the app will change the color of the sphere accordingly to the key words found in the commands. Here are how it looks in my iPhone.
The Text is streamed on-the-fly from IBM Watson service to the device.
Live demo:

